how to remove acrylic without damaging your own nails

5 Easy Steps on How to remove acrylic nails at home without damaging your nails

This page contains affiliate links. If you want to buy an item please consider using my links at no extra cost to you.
Click to Play Article

Acrylic nails are known for their durability and strength. These are possibly its best qualities. Logically a product that is so sturdy and strong should not come off of the nail easily. So you’ll soon be faced with the issue of how to properly remove the product without seriously damaging the natural nails. 

I think that every person who’ve worn acrylic nails can honestly say that they’ve pulled at, and tried to remove the acrylic product the “easy” way, by ripping it off. This can be very tempting, especially if the product started to lift. The natural nail underneath will always be left damaged and feeling brittle and soft. This is where the misconception that acrylics damage the natural nail more than any other system comes in.

I will discuss in detail how to properly remove acrylic nails using a soaking bowl, foils and when filing. This removal should not leave your nails feeling damaged and brittle when done correctly.

Removing acrylic nails include a few steps. Trimming the nails, removing the topcoat, soaking the nails, scraping off the acrylic and cleaning up the natural nails.

Table of Contents

The Best Way to Remove Acrylic Nails

What you will need

This cordless drill is amazing and is perfect for personal use. Especially if you are looking to remove your acrylic nail at home. Rather get a high quality, easy to use, and storable e-file, rather than having to get a new cheap e-file often or risk hurting yourself.

I recommend this electric nail file (e-file) to everyone, it is a very handy tool even if you don’t do your nails as often. A small body that makes it easy to store and it is fully cordless making it easy to use. The body is aluminum resulting in high heat distribution allowing for longer use. Check the price on melodysusie they usually have great discounts of up to 30%. 

Read more on e-files here. Best electric nail files for you. Check on melodysusie

Step one: Trim the nails

If the acrylic application was done on your own nails like represented with my client here and if your nails were lengthened using acrylic sculpture or tips, it is important to ask your yourself if you want it cut short or if you should preserve your natural nail underneath the extension.

Use a tip cutter to shorten the extensions. If the nails are too thick use an e-file and medium grit sanding band to shorten the extension even more. By shortening the nails you lessen the amount of product that has to be removed. This will save you a lot of time.

nail being filed using an e file

Step two: remove the topcoat and thin out the product

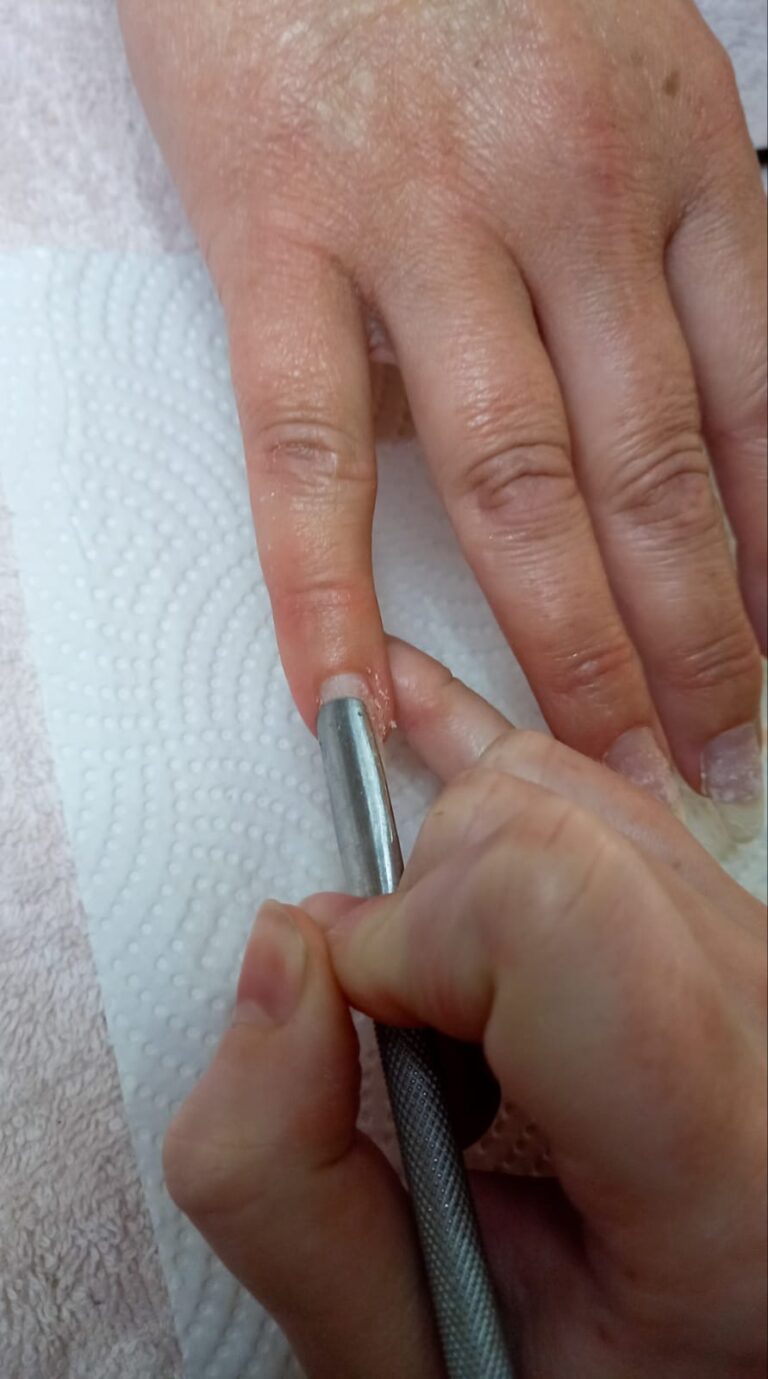
I use my e-file with a medium grit sanding band to thin out the product on my clients’ nails. You are more than welcome to use a rougher sanding band or even a 100/ 180 grit file, I just personally prefer the medium grit, and using an e-file is a lot faster for me. 

It is very important to remove the topcoat before you start soaking your nails. I make use of a buff-off gel top coat that will not come off using acetone. It may start to give way if there are some cracks or another sort of weakness in the topcoat, but overall it will take an unnecessarily long amount of time to remove the product if you don’t remove the topcoat beforehand.

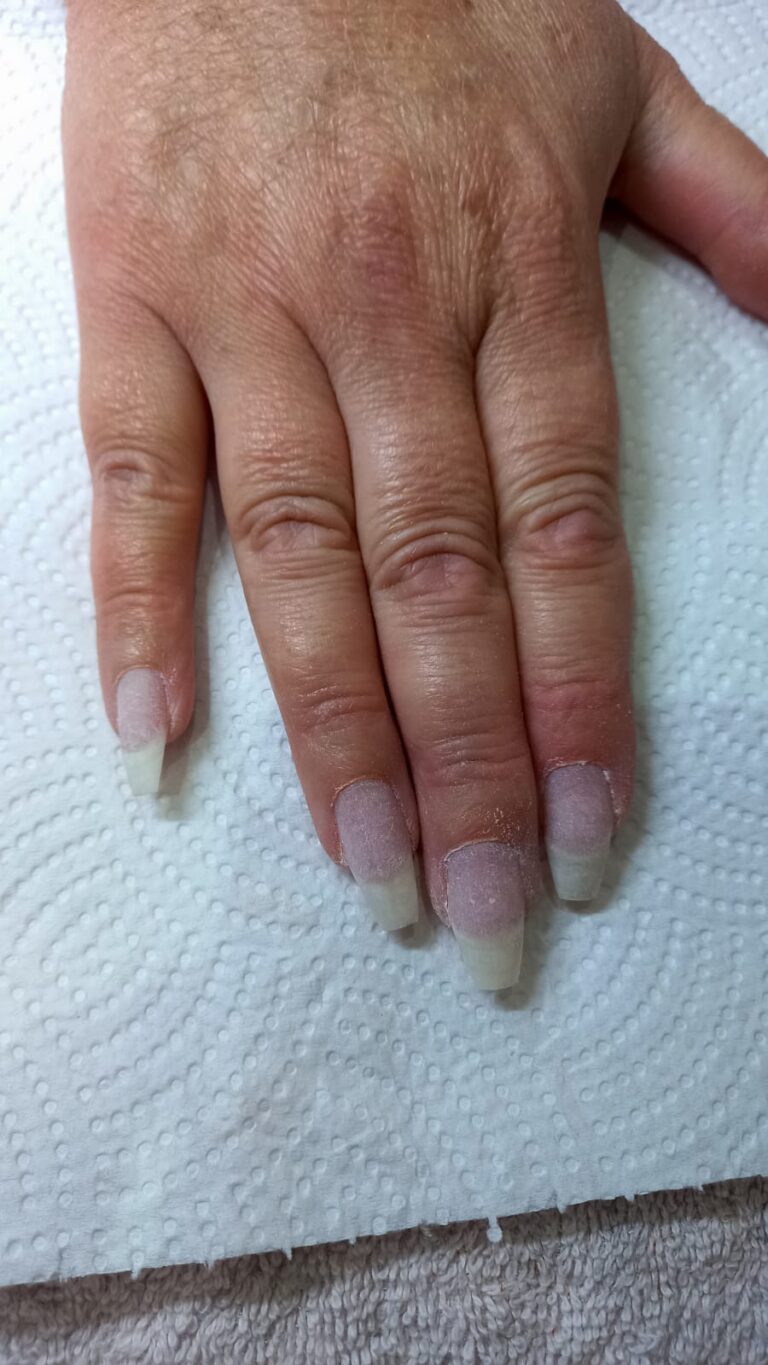
Furthermore, thinning out the product will save you a lot of time when soaking the nails. I file off most of the product and keep a thin amount of it left on my clients’ natural nails. It is very important to try and keep filing on your natural nails to a minimum. Especially if you are going to apply a fresh set of acrylic nails after soaking the old one, which will entail you to file the natural nails for preparation.

By removing most of the old product the soaking process will progress a lot faster. You won’t have to use so much acetone for the removal and will be able to remove everything in quite a short amount of time. Never try to rush things.

Friction burn is a common occurrence when using an e-file and that is why it is important to take things slow and to have the proper training for using an e-file before using one on yourself. You should also be very careful when filing near the cuticles no matter whether you use an e-file or a hand file, as you don’t want t accidentally cut your skin.

Step three: Soak the nails

To soak the nails in this step I made use of a soaking bowl. It is a container made out of special plastic that will not melt when using acetone, with clips on the side. The top half of the bowl has five spaces for your fingers, while the top half is for warm water. I have two bowls to save time by soaking both hands at once. You can however make use of two glass bowls if you don’t have a bowl like this. Don’t use plastic as the acetone will melt it. Place a smaller bowl on top of a bigger one and fill the bottom bowl with water and the top bowl with acetone. I like to boil water for at least half an hour (depending on the weather) before my client arrives. This allows the water to cool down enough as to not burn my client. Warm water is important as acetone is heat-sensitive, this will cause the acrylic removal to speed up exceptionally.

I start soaking one hand when I’m done thinning out the product and then move on to the other hand for filing. If the acetone is too warm remove your fingers until it is comfortable. Just note that once the wet acrylic comes in contact with air again it will solidify. So it is a good idea to move the hands in and out rather than to keep them outside of the acetone for extended periods. 

If you notice the water cooling down too fast you can warm it up by removing the bottom half of the bowl while your client continues to soak their hand. Soaking might take a bit longer in colder weather.

acrylic being scraped off after soaking

Step four: scrape off the acrylic

Once your nails have been sitting in the acetone for at least a few minutes, remove them and, using a cuticle pusher or a yellow wooden cuticle stick, gently scrape the wet acrylic from the nails. You should never use extensive pressure. I wipe the acrylic on a paper towel after each scrape. 

Once you see there’s no wet acrylic left use the e-file to file off a little more of the acrylic, as it will create a softer layer that will be easy to file through. Don’t put your e-file on a high speed and refrain from filing through to the natural nail. Please note you don’t need an e-file, but it is a lot faster to use.

Do this until all of the product is removed.

cuticles being pushed back using cuticle pusher

Step five: clean up the natural nails

This step should be done no matter if you are only soaking or getting a fresh set applied.

  • Using a cuticle pusher of your choice gently push back the cuticles.
  • Use your e-file and a cuticle bit or a cuticle trimmer to clean any dead skin remaining on the nail plate. 
  • Cut off any hangnails.
  • Using the e-file and a medium grit sanding band gently buff the nails at the slowest possible speed, you can also use a hand file with a medium to soft grit. If you are not getting a new set, you can gently buff the nails. 

This will remove any remaining product residue and smooth out the nails. Be cautious never to over-file your nails. Shape the nails according to what you want. Once you are done you can use a nail brush and sanitizer to clean up all of the dust from the nails. Go over using a lint-free wipe and sanitizer to make sure no dust remains. 

If you are not getting new extensions you can simply apply cuticle oil to the whole of the natural nail, and massage moisturizer into your hands. Acetone is extremely dehydrating so it is very important to replenish the natural oils found on the nail plate.

How to remove acrylic nails without soaking

When using foil to remove acrylics from the natural nails you will still follow steps 1, 2, 4, and 5. The only difference is that instead of using a soaking bowl you’ll make use of tin foil and cotton pads or you can buy foil wraps from your local nail supply store.

  • Saturate the cotton pads in acetone, and I mean saturate!
  • Wrap them around the nails and tightly wrap the foil with the shiny side facing towards the nails. 

To speed up the process you can pop the hand into an LED lamp for more heat. After a couple of minutes, you can scrape off the product as mentioned in step 4 above, and repeat the wrap as many times as necessary. The amount of time this takes will depend on the amount of heat you can generate.

saturated cotton in foil
foil over finger

The Best Way to remove acrylic nails without acetone

As mentioned above, it is never a good idea to file off all of the acrylics on a natural nail. The reason for this being that you can easily file down to the natural nail and cause serious damage without even knowing it. Natural nails aren’t generally very thick so it doesn’t take much effort to file through to the nail bed. 

This method will however not allow you to remove all of the product but can be used when performing a fill-in with a different color and design. 

Another way to remove acrylic nails with acetone is to use acetone-free nail remover or to just soak it in warm soapy water.

Removing acrylic nails using water.

  • Get a bowl of water that is not too warm, but feels comfortable for you.
  • Add a bit of soap to it. Any general soap should work but I recommend something that gives soap that is made for use on skin.
  • Now soak your hands in the water for about 15 minutes.
  • Check if the glue has loosened, else warm the water again and try soaking for about another 15 minutes.
  • Once the nails are loose don’t try and rip them off, rather play with them till they fall off.
  • Now refer to step 5 to clean the natural nail.

How your nails should look after removing acrylic nails

nails after being soaked and cleaned from any acrylic

After removing your acrylic nails. Try some gel nails with the best gel nail kit available.

Conclusion

Properly removing any product from natural nails will take time and patience. It is never a good idea to rush this process in order to save time. You will end up damaging your nails and this is never acceptable.

If you found this post helpful or enjoyable please share it with your friends and family.

Get free printables sets when you sign up for my newsletter.

Thank You

This website uses cookies to ensure you get the best experience on our website.