How to clean and prevent your nail brushes from getting ruined

How to clean your acrylic nail brushes and keep them from getting ruined

This post may contain affiliate links. This means that I might receive a small commission if you purchase through my link, at no extra cost to you.
Click to Play Article

In the nail industry, there are different mediums that you can work with. Each of them has its own set of tools and brushes. You can read more about the different nail brushes and what they are used for. Working with acrylic is a skill on its own as you have to learn to work faster than you would with gel, as the product air dries. It can be quite frustrating when your acrylic brush is rock hard the next time you enter your work area. Acrylic brushes can be quite expensive, and if it’s the only one you have, you will need to learn some tricks to help “save” it. Yes, believe it or not, you can reverse the effect of dried acrylic in your brush.  Even though I always believe prevention is key.

Stick around and learn exactly why your acrylic brushes are getting ruined, what you can do to prevent it from happening, and in the worst-case scenario, what you can do to “rescue” a ruined brush.

Table of Contents

Why my acrylic brush is getting ruined?

Ruined acrylic nail brushes

When your balance between monomer and polymer is off, you might be left with either a very dry bead or a very wet bead of acrylic that can ruin your brush. When the bead is too wet the acrylic tends to get trapped in between the bristles of your brush. You can tell your beads are too wet not only by looking at the application but some other signs like.

  • Your monomer will most likely start getting cloudy, and your brush will start feeling “puffy” and hard to work with. Almost like you’re not able to absorb enough monomer into the brush, but you’re absorbing too much at the same time?

When working with acrylic, you’ll be using a powder, called a polymer, and a liquid called a monomer. The monomer causes the powder to change into a liquid, paste-like state that you can then mold and create nail extensions. As soon as the polymer comes in contact with the monomer, the polymerization process will begin. Meaning that the acrylic will slowly start to dry. 

The speed at which the acrylic dries depends on some factors like how wet your acrylic bead was that you started with and what the temperature of your salon is. Acrylic sets much faster in the heat than in cold weather.

In between picking up and placing acrylic beads, you will have to wipe your brush on a piece of paper towel. This helps prevent your monomer from becoming contaminated with acrylic and helps your brush stay clean. If you are, however working with very wet beads, the process of wiping your brush can actually matte the acrylic into the bristles even further. This is very annoying and can make doing nails very unpleasant and unnecessarily hard.

If your brush is left in that contaminated state for even a couple of minutes, the acrylic will harden on the bristles, leaving your brush all but useless. I threw out so many brushes when I started doing nails, looking back if I knew what I know now my brushes would firstly never ended in such a state, and if they did I would’ve been able to save them with some TLC.

How to prevent your acrylic nail brush from getting ruined

how to prevent your brushes from getting ruined

This section is extremely simple. Other than the obvious fact that you should work on your liquid-to-powder ratio to prevent you from using overly wet beads of acrylic, there is something you can do after each service to preserve your brush. I tested this out one day to see if it would work, and low and behold my brushes look good as new after every use. I work in a pattern when doing nails. So I finish one hand, add glitter, encapsulate, etc, before moving to the next hand. This works great for me especially in colder times of the year when acrylic can take a bit longer to set. This means that when I’m done with my client’s left hand(I work from my left to right), the right hand will be dry and ready to file. 

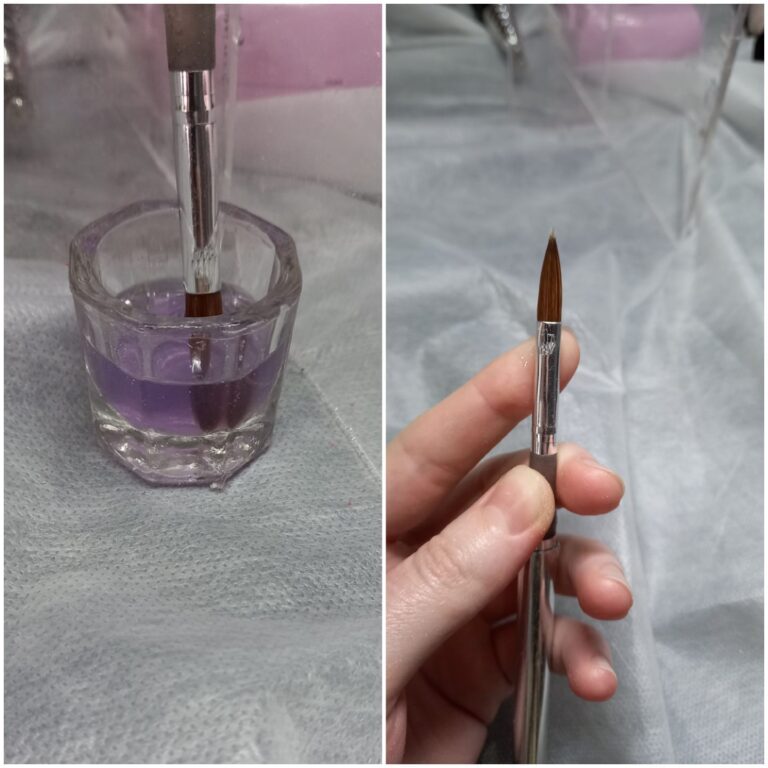
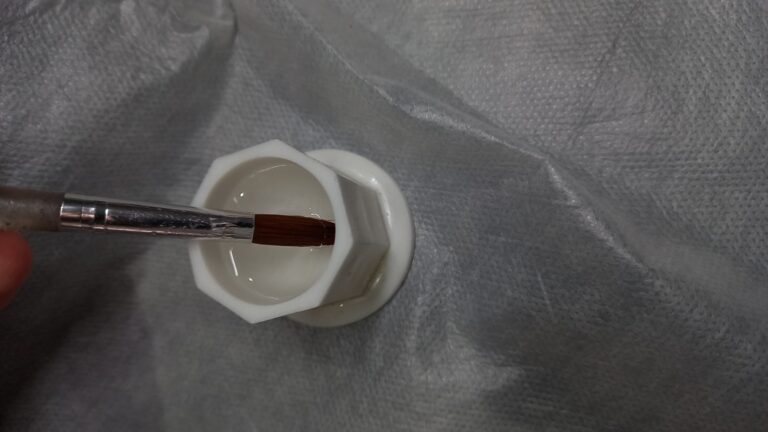
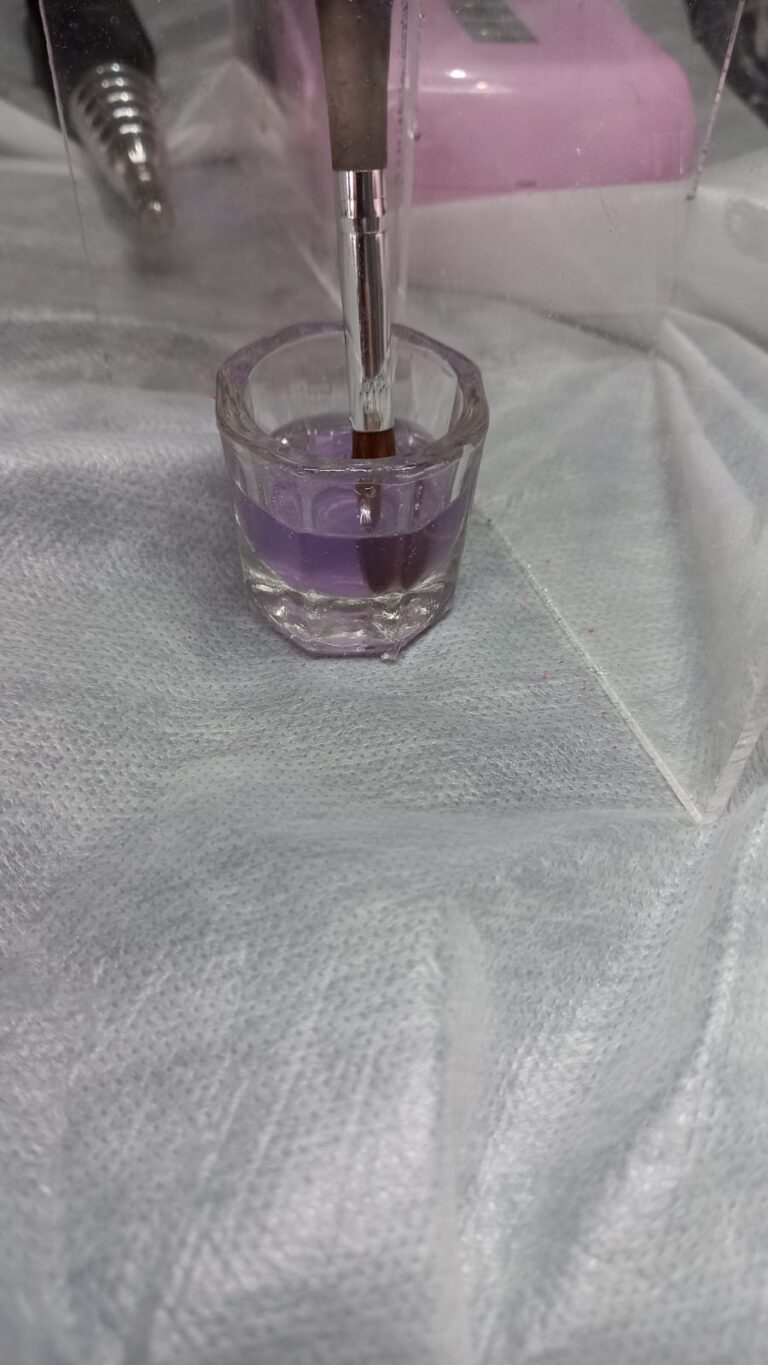
My trick is that after I’m done with my client’s left hand, I clean as much of the acrylic from my brush as possible, and then I prop it up upside down into my dappen dish with the leftover monomer. Note that this monomer is usually still quite clean. If your monomer is cloudy and contaminated with acrylic, I would suggest cleaning out the dish and adding a bid of clean monomer before doing this.

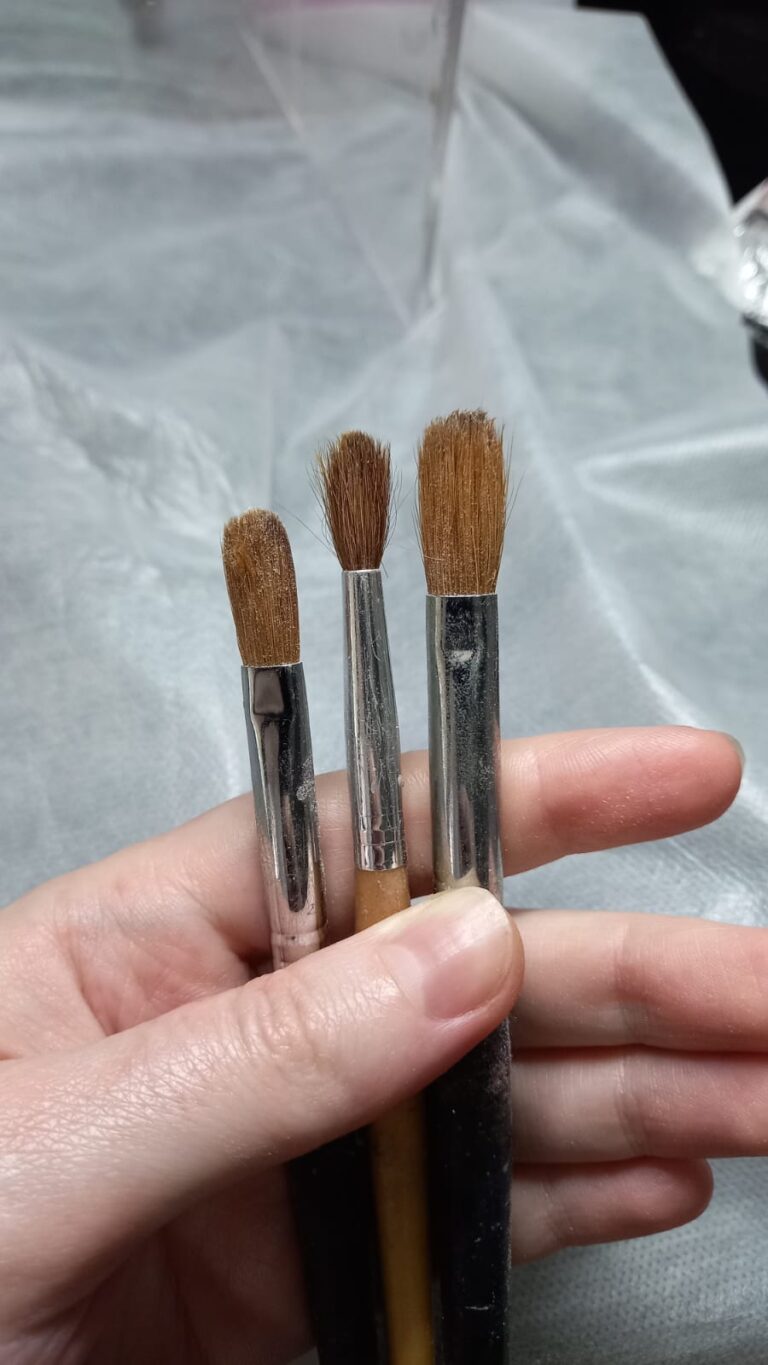
I leave my brush like that until I’m done filing the nails. This allows the monomer to soak into the bristles and liquify any leftover acrylic. Over the years I have gotten a lot better at the liquid-to-powder ratio so my beads aren’t as soggy or dry as they used to be. You can’t believe how much acrylic residue still gets stuck in my brush no matter how I clean it and how perfect I try to work.

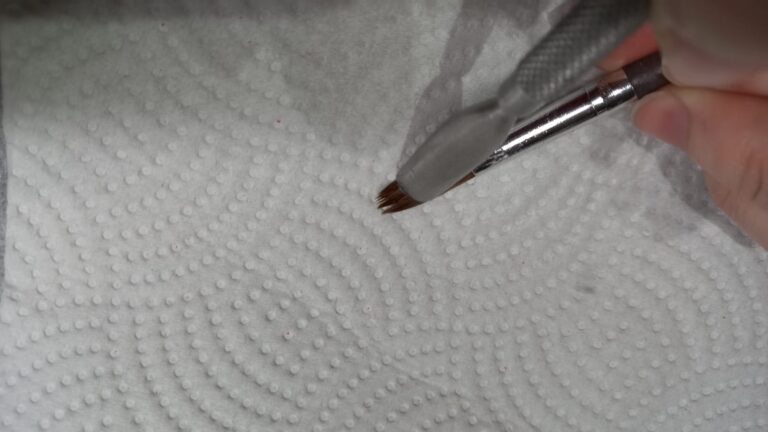
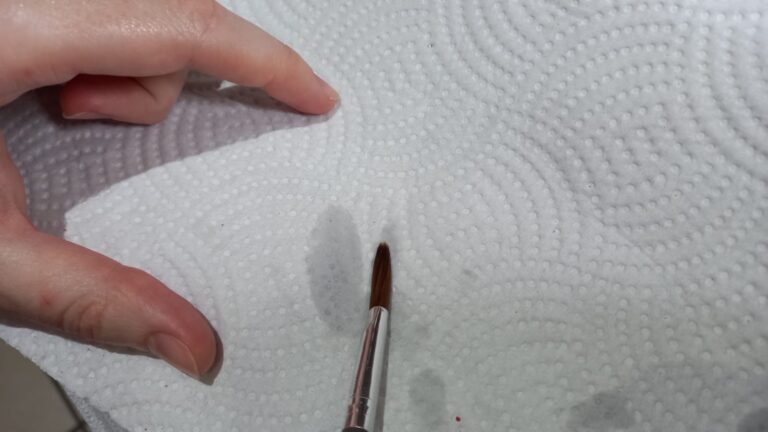
After the brush is done soaking I gently wipe it on a paper towel, sticking it back in the monomer and cleaning it further if needed. I then roll the brush to make the bristles into a point again and store it. It’s important to not touch the bristles with your bare fingers, as overexposure to monomer can not only cause you to become allergic to the product over time, but the oils of your fingers will transfer to the brush which can harm your next application. As we know oil and acrylic or gel don’t work well together, and it can cause lifting of the product.

I would not recommend leaving your brush like this overnight or even for a couple of hours, as this will bend your bristles and make the brush very hard to work with. Remember to always try and work as clean as possible so your brush can serve you as long as it was intended to.

How to clean your acrylic nail brush?

Now the reason why you’re probably reading this article in the first place, you’ve ruined your acrylic brush and you are looking to get it cleaned. You took it out only to realize that it’s hard and useless. Don’t chuck it in the bin just yet. I have a solution for you. This process works, but it has to be done carefully, and when your brush has been saved, please, if you haven’t already, read the part above about preventing your brush from getting ruined in the first place.

  • What you’ll need is a container with acetone and a container with your monomer.
  • Place your brush in the acetone for a couple of minutes.
  • When you take it out you should see the acrylic starting to “liquify” take your cuticle pusher or a wooden orange cuticle stick and GENTLY scrape the acrylic out of the hairs.
  • Place the brush back and repeat until all of the acrylics are out of the brush.
  • Once you’re satisfied place it in monomer for a couple of minutes. The monomer will rehydrate the hair fibers and restore them. 
  • Roll the brush to make the bristles into a point again and store it.

Note that this should only be done as a last option. Acetone is extremely drying and will ruin your brush over time. Also if you have a wooden brush or a plastic one you should take precautionary measures before doing this, as the acetone will destroy the paint on the wood and “eat” through any plastic it touches. Also scraping the bristles like this will cause them to start to stretch out. Once the hairs are stretched they can’t be restored to their former glory. 

This does bead throwing out your expensive brush, but I say again, prevention is always better.

Soak in acetone

Soak in acetone

Scrape the acrylic out of the hair

Scrape the acrylic out of the hair

Soak in monomer

Soak in monomer

Drying the brush and rolling it into shape

Drying the brush and rolling it into shape

Taking pride in your work stretches futher than just the end product on nails. Taking care of your equipment and tools is so important. Make sure to always keep them clean and taken care of and they will serve you well. If you wan to know more about some professional equipment you’ll need to start your journey as a nail tech, check out my article on the topic.

If you found this post helpful or enjoyable please share it with your friends and family.

Get free printables sets when you sign up for my newsletter.

Thank You

This website uses cookies to ensure you get the best experience on our website.