Different nail brushes and what they are used for

Different nail brushes and what they are used for

This post may contain affiliate links. This means that I might receive a small commission if you purchase through my link, at no extra cost to you.

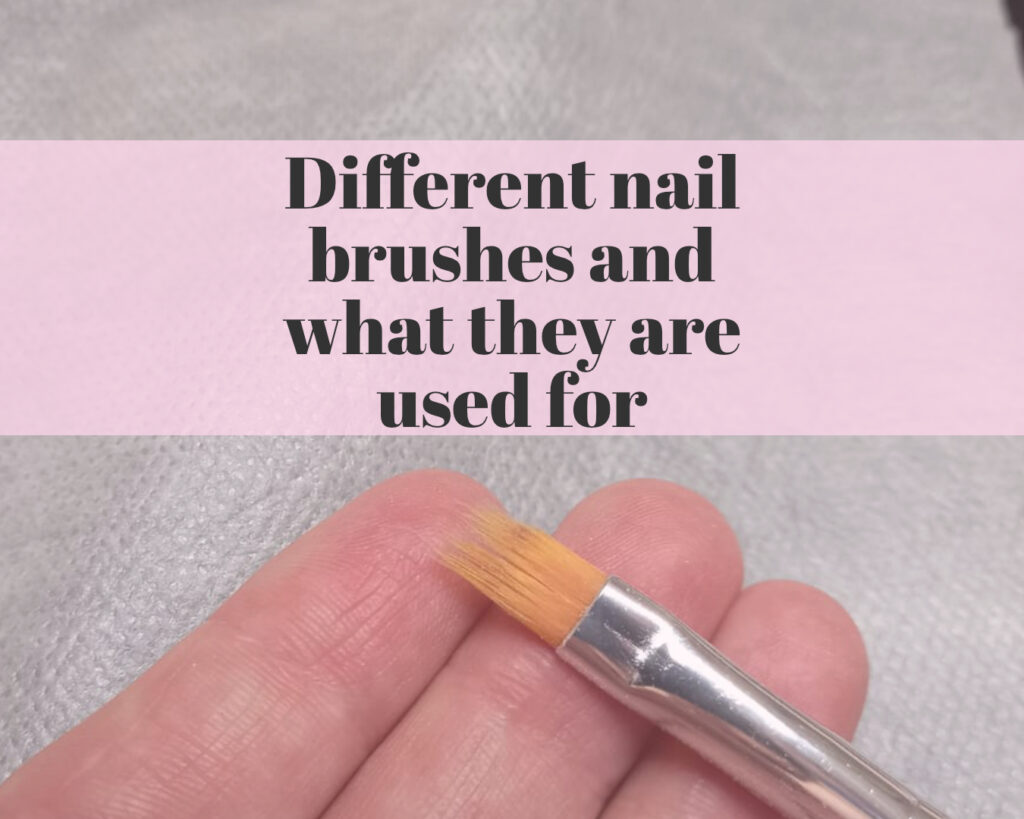
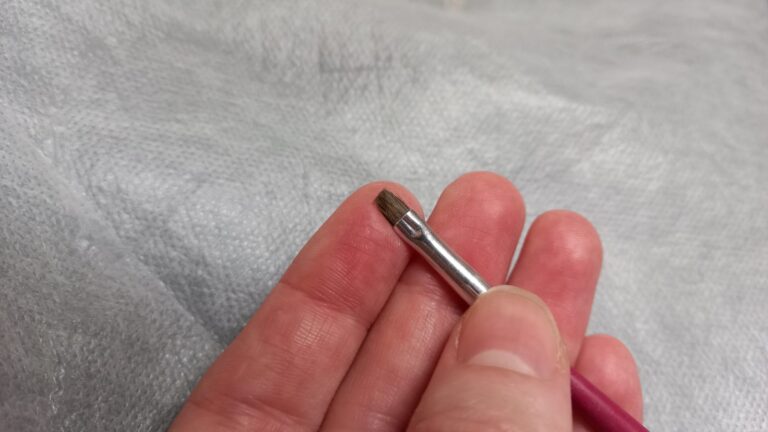
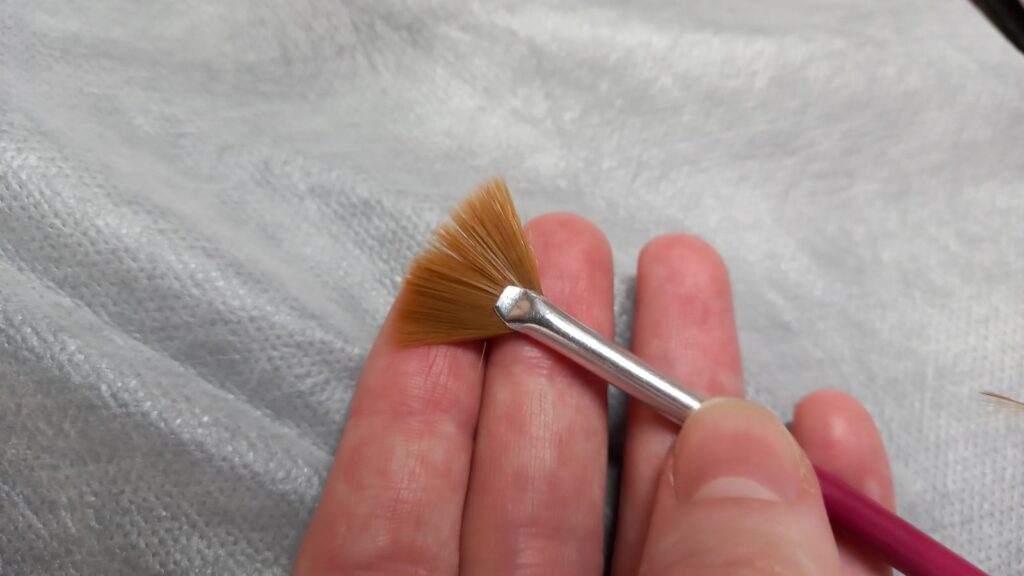
When you start doing nails, whether it is professionally or just casually for yourself, you’ll soon notice that there are quite a few different brushes out there. It can be hard to know exactly what each one is used for as some of them can look a bit crazy. 

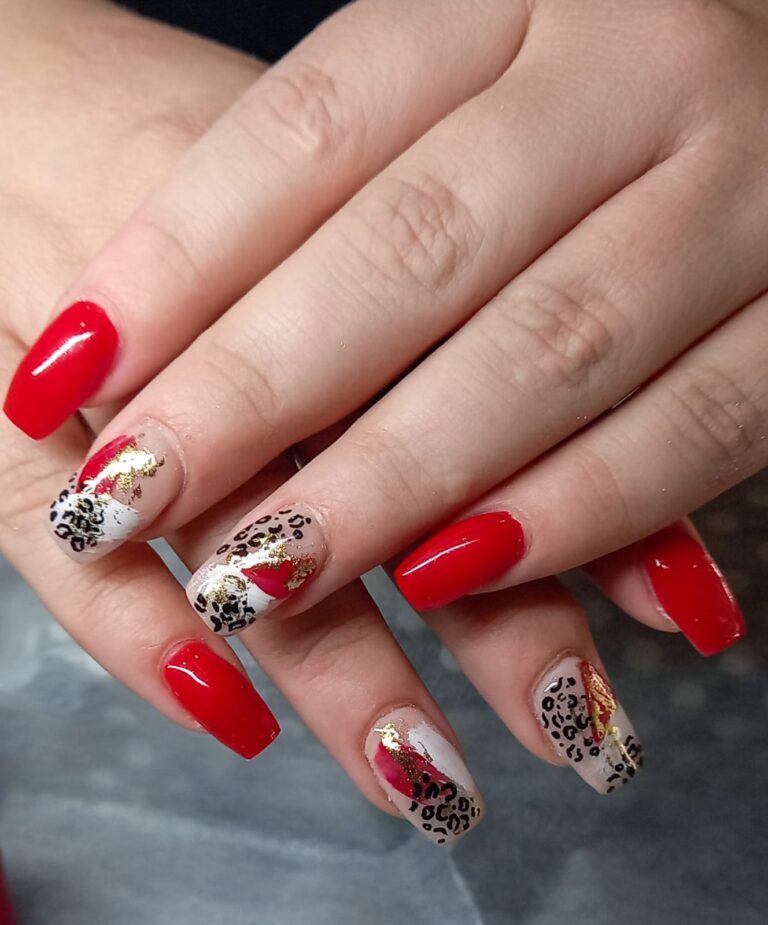
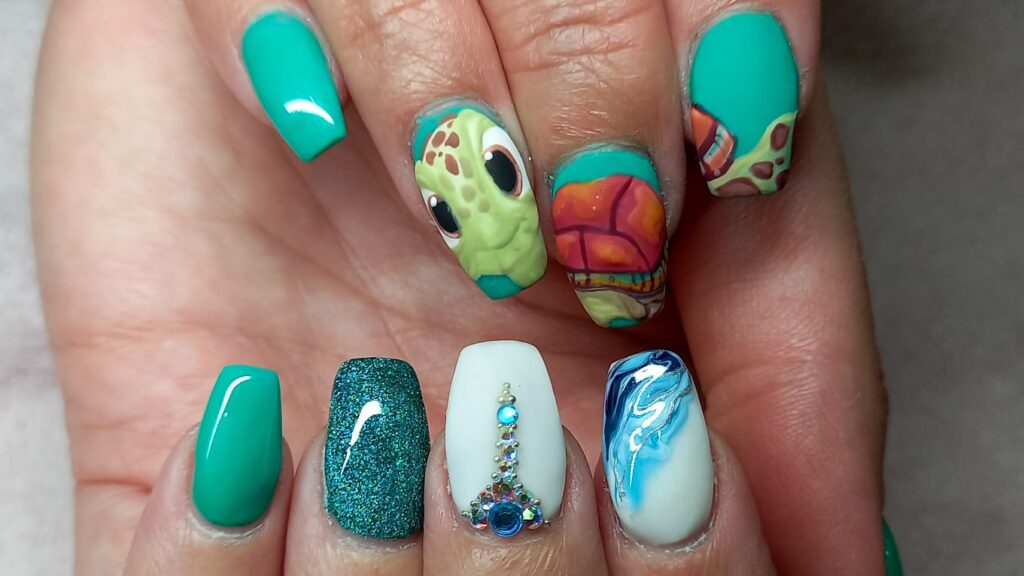
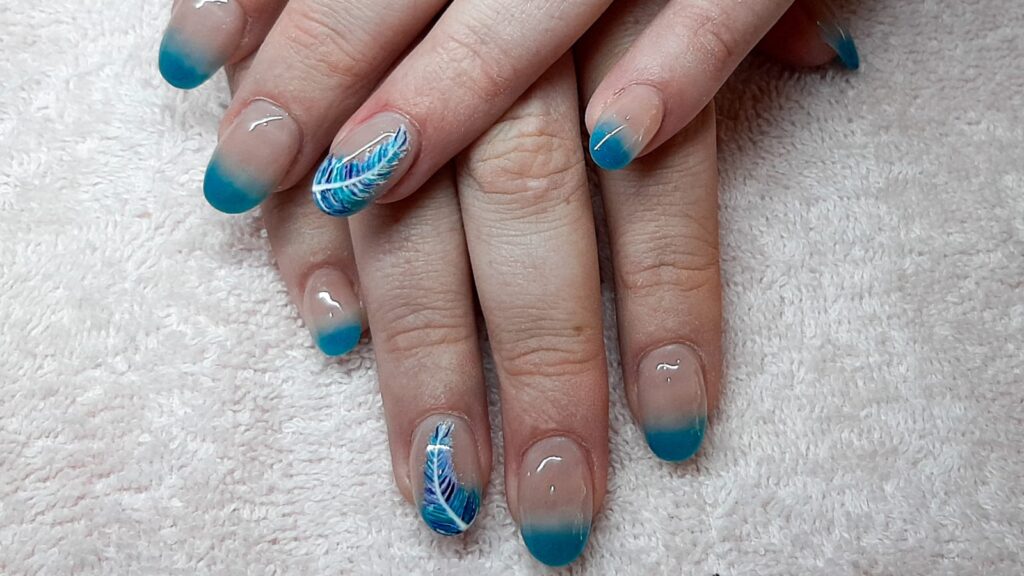
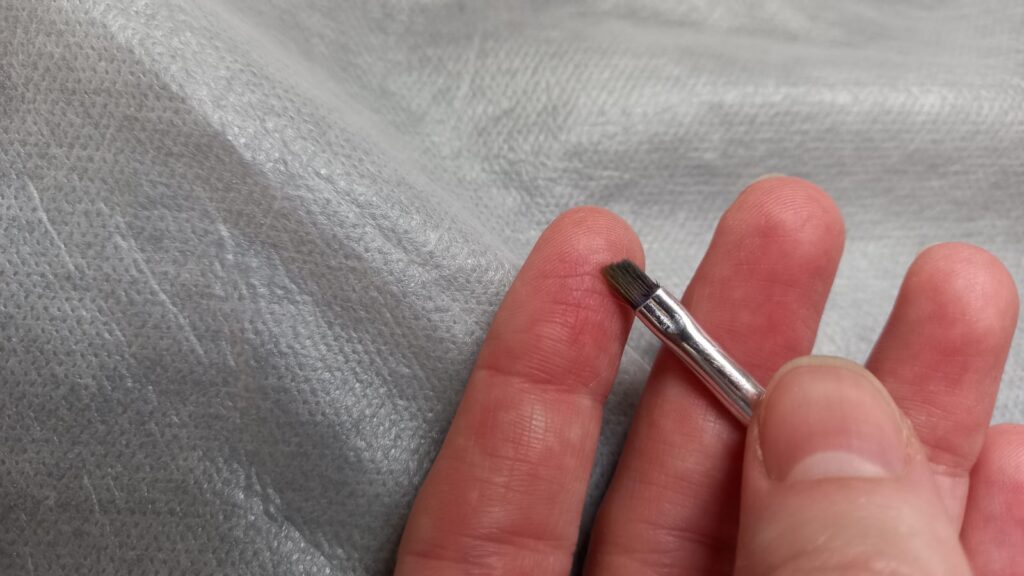
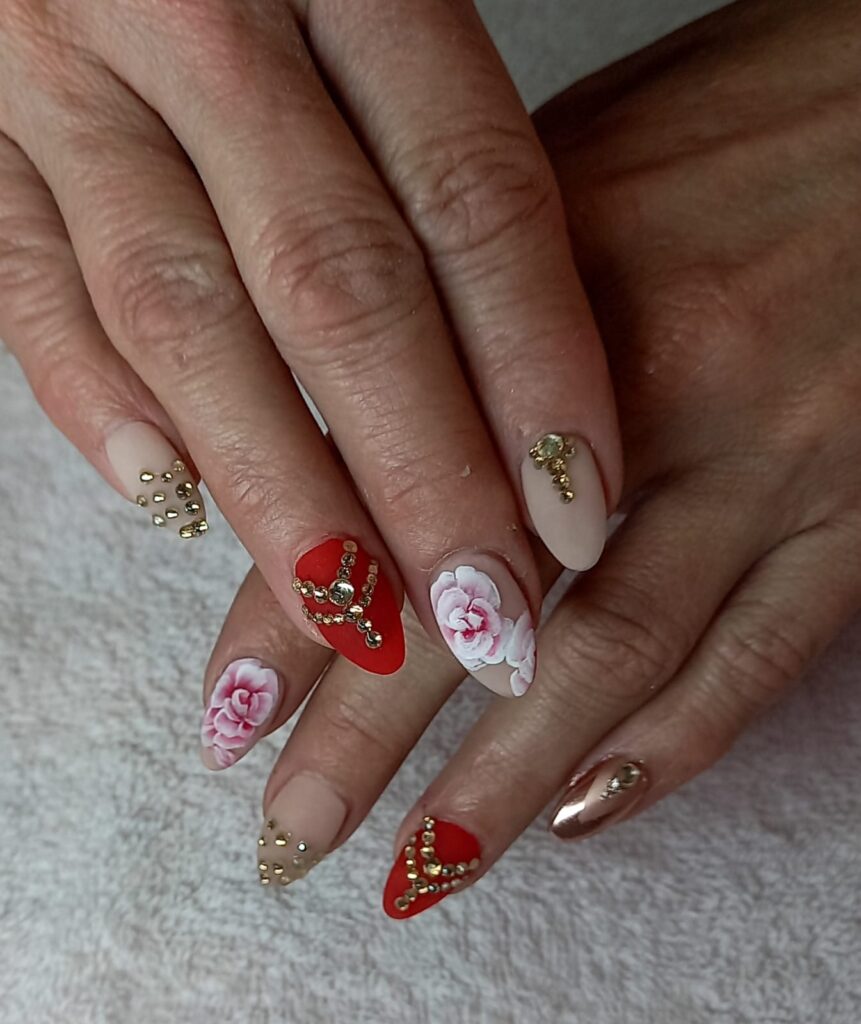
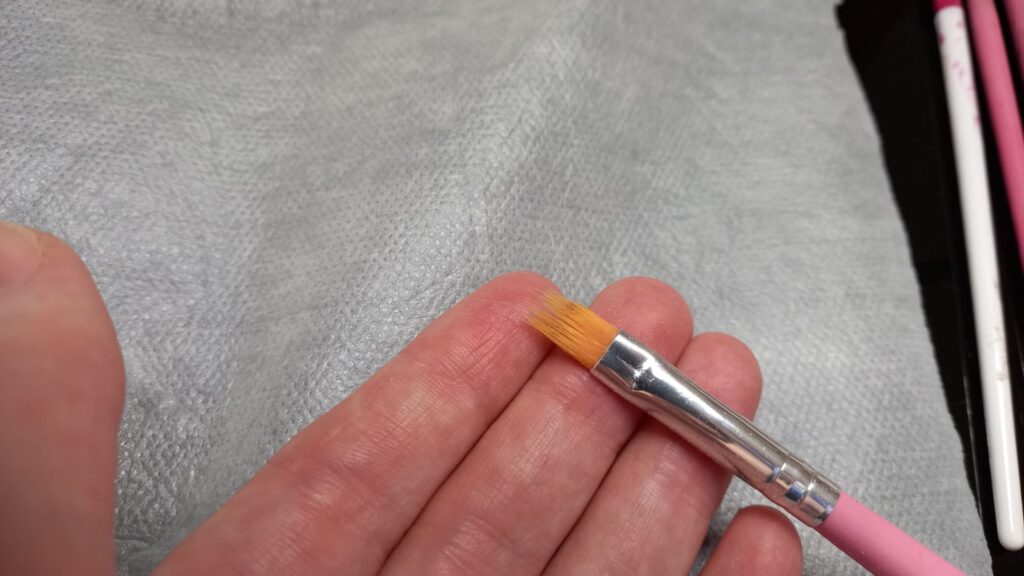
I have a couple of trusty brushes that I use almost daily in my work life as a nail technician. I’ll explain more about how I use them and give you some examples of nail sets I’ve done. Please note that some of these designs were inspired by other nail tech’s work and not all of them are my original ideas.

Table of Contents

Nail art brushes

Nail art is a big part of doing nails. There are so many different brushes on the market to make doing nail art easier. It can be a bit confusing to know what brushes are used for what.

Brush Type

Uses 

Liner brush

Drawing lines and smaller details

Oval brush

Rough paint strokes

Square brush

Mixing colors with a stroke

Feathering brush

Spatter effect

Angled brush

One stroke designs 

Petal nail art brushes

Painting easily flowers

Liner brushes

liner brush

Liner nail art brushes are my top art brushes. I use them for almost everything. It makes drawing lines and small details a piece of cake. I like to use smaller brushes to draw designs and small details. The longer brushes are perfect for drawing straight lines without any hassle.

If you are unsure about what art brushes to get, I would recommend getting a set of liner brushes. They are so versatile and I mainly use my liner brushes when doing nail art. Here are some examples of art that I did with my liner brushes:

Liner brush art example

liner brush nail art
line art

Some people use longer brushes for everything. I like the control that the shorter brush gives me when painting detail. Test them out and see what works for you.

I use a set of three different-sized liner brushes. My brushes are well worn as I use them most often between all my art brushes.

Oval brush

oval brush

I like to use my oval brush for achieving rough paint strokes. I have also used this brush to create feather designs on nails. Using the brush to create paint stroke-like designs is so simple but looks cool. 

This brush is great for creating dry-brush effects. Just be sure to tend to your bristles after using them as they can get a bit crazy when being used for dry brushing.

I used this effect on the picture below and drew some leopard print using my liner brushes. 

Oval brush art example

dry brushing nail art

Square brush

Square brush

I mainly use my square brush when doing marbling. I saw this technique somewhere where you place a couple of different colored drops of gel polish next to each other and then pick them up using your brush. You can then place them on the nail to achieve this very cool ocean-type effect. To make the colors flow into each other even more you can first over the nail in clear gel and allow the colors to run a bit before curing the nail in your lamp.

Square brush art example

marbling nail art

I created the ocean effect using my square brush and painted the sea turtle using my liner brush. I also went in with my liner brush to add some silver detailing on the marble after it was done curing.

Feathering brush

feathering brush

My feathering brush is not something I use very often. It is however great when you want to create something like a splatter effect, or to add minimal glitter to a nail. You can also use the bristles to create intricate designs like the leaves on a fur tree or a feather.

Feathering brush art example

feather nail art

Angled brush

angled brush

An angled brush is great for something like one-stroke designs. That is mainly what I use mine for. I will say that quality is a factor here. If you’re first learning how to do one-stroke designs using a cheap brush is fine. But it’s worth looking into a higher-quality brush as you get used to the technique.

Angled brush art example

one stroke flower nail art

You can buy these brushes separately but I bought most of mine in a kit like this. It can be a bit more cost-effective to buy it like this. It will help you to figure out what art style you like and which of the brushes are worth spending more money on. This set also includes a bunch of other brushes as well as dotting tools. Dotting tools are great for easy nail art like minimal flowers.

Petal nail art brushes

The one-stroke brushes are something that I bought, tried but haven’t used. I think I’m just too used to painting all of my designs the hard way. These brushes can make painting easier and I think it would’ve changed my life if I had gotten them sooner.

These brushes are great when you want to paint flowers but don’t know where to start. Each brush can paint a different petal without almost any effort.

You can use these brushes for more than just flowers and let your imagination go wild. I love using gel paint when doing art as it’s more opaque and easier to work with than something like gel polish.

gradient brush

I like to use the gradient brush(the brush that is solid at the back but has thin longer hairs at the front) to do gel ombre effects. It blends the gel colors into each other so seamlessly and makes doing ombre nails a walk in the park.

Product application brushes

There are multiple products that each need their own type of brush. Acrylic, gel and hybrid-gel all have different brushes that were designed for that specific medium.

Acryic brushes

Acrylic brushes come in a wide variety of different sizes. The smaller sizes are great for when you want to create small details like 3D flowers. While sizes 6-12 I find work best for applying full nails. The size of the brush depends on what you are comfortable with. I have used many different sizes and love my #6 brush. SIzes larger than the #12 brush is great for large bead applications for instance when you use acrylic to build up the big toenail.

Each brand has its line of brushes. Experiment with different sizes and designs to find what works best for you.

Gel brushes

Gel brushes are quite different than acrylic brushes. Instead of having a large pointed tip, it is flat and rounded. Gel brushes are great for applying the hard or soft gel, and for applying gel colors like buttercreams. Having different sizes will help when you have to do tiny nails or larger surfaces.

Hybrid gel brushes

Hybrid gel or acrygel is a gel that has properties of gel and acrylic. The brushes are quite a bit different than regular gel brushes. The bristles are stiffer to help mold the gel and the brush generally comes with a spatula at the back. That is used to scoop out the product onto the nail. 

If you are not sure about the difference between the three mediums, read this article on the difference between acrylic, gel, and poly gel.

Not all brushes are the same quality. If you are just beginning in your nail journey you can opt for cheaper brushes, just to get the idea and feel of them. Once you know what you’ll be using a lot you can invest in higher quality, more durable brushes.

If you found this post helpful or enjoyable please share it with your friends and family.

Get free printables sets when you sign up for my newsletter.

Thank You

This website uses cookies to ensure you get the best experience on our website.